1. Sign Up for OpenMic
Head over to OpenMic and create your account. Once you’re signed in, you’ll have access to the dashboard, where you can create and manage your agents and campaigns.2. Create a New Agent
- Go to the Agents section and click Create New Agent.
- Fill in the agent settings (such as name, voice, and any other configurations).
3. Upload Your Contact List
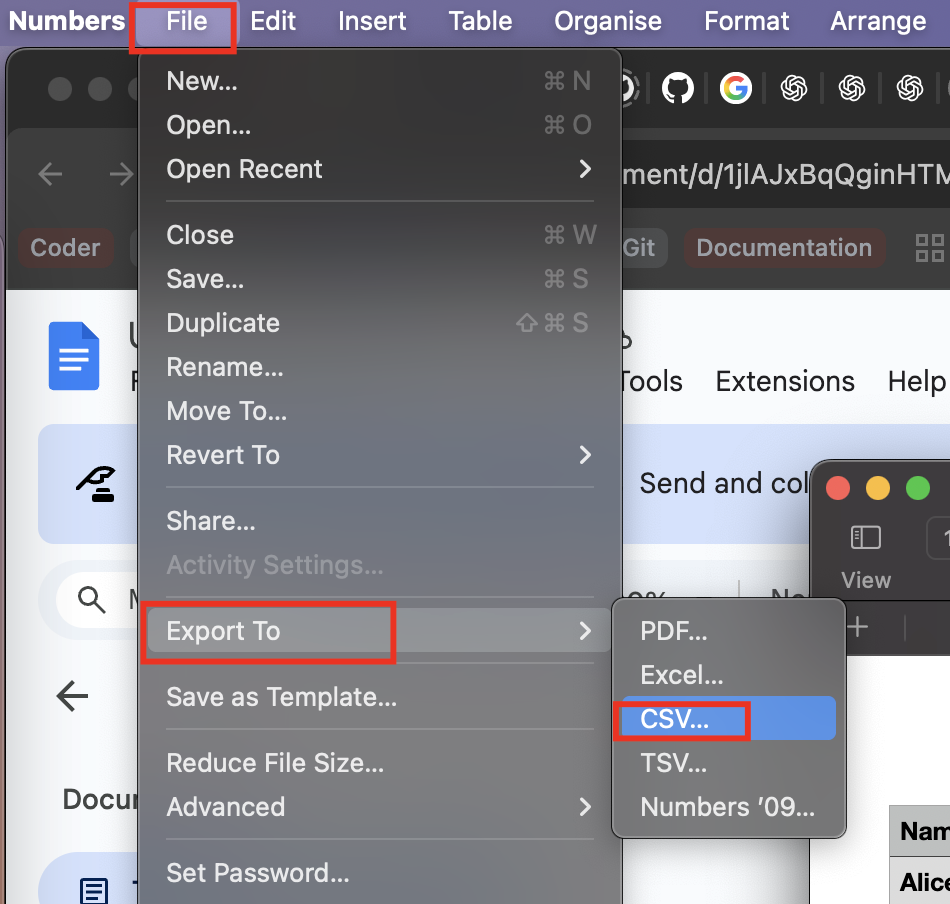
- Prepare your sheet like this and export it as CSV.
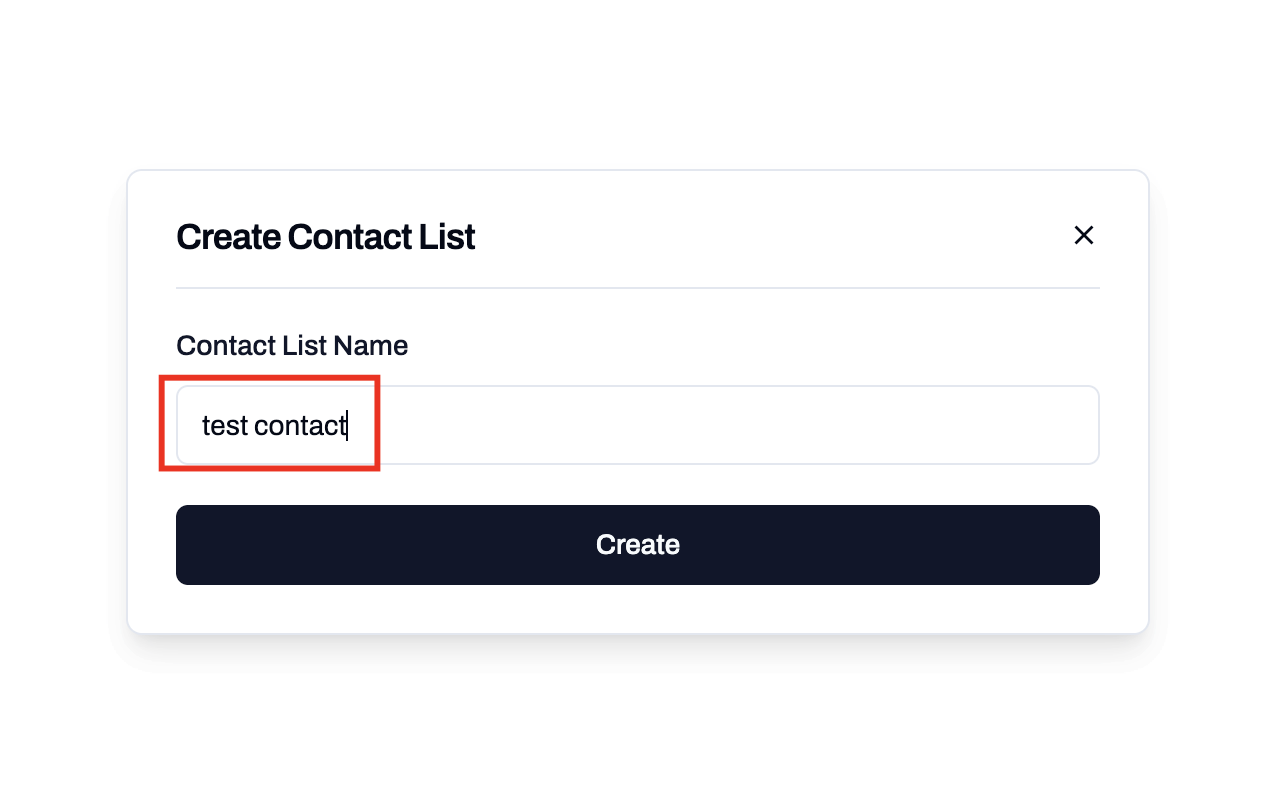
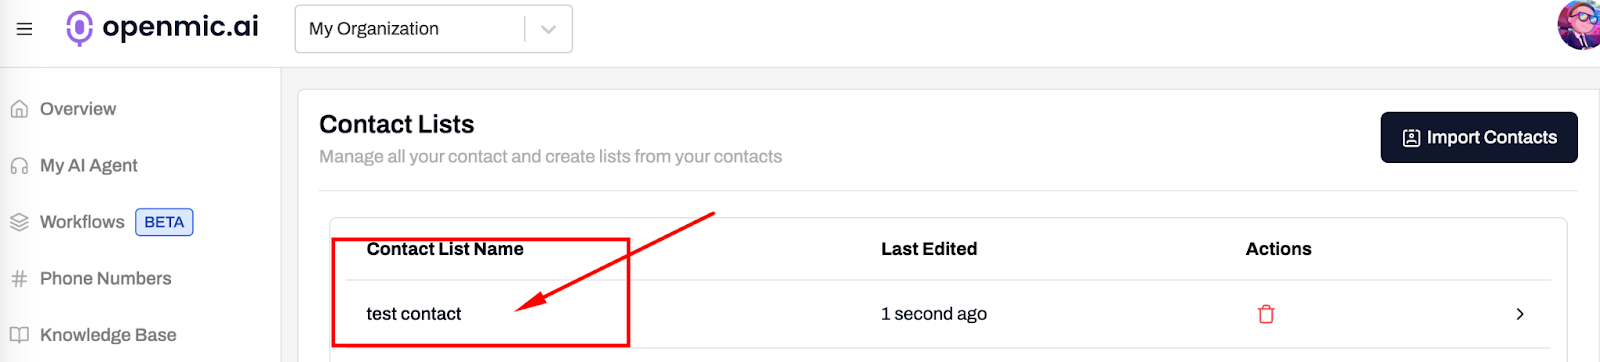
- Navigate to Contacts → Create New List.
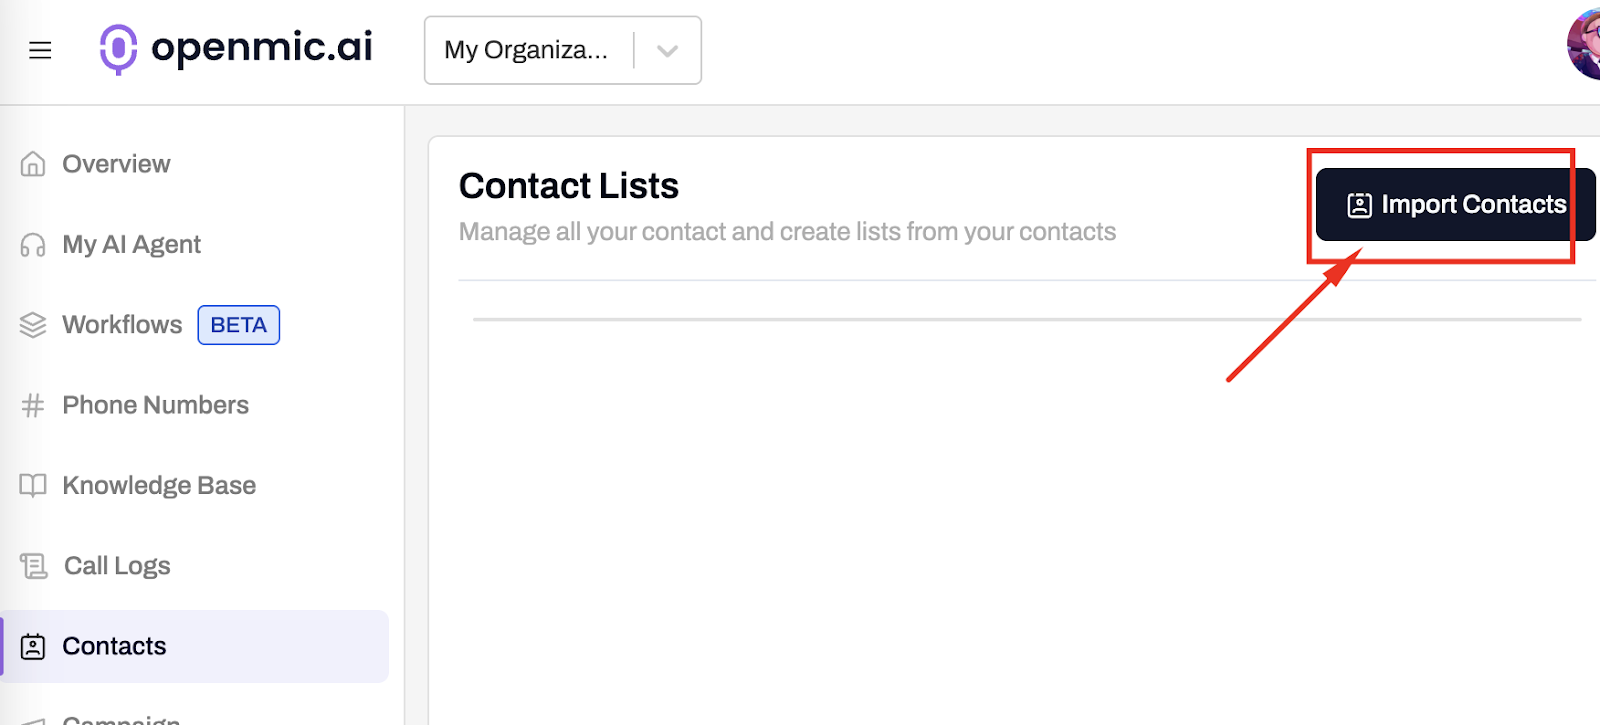
- Once your list is created, open it and click Upload CSV.
- Upload your CSV file.
- Map the fields:
- Ensure Name and Phone Number are correctly mapped.
- Any additional headers (like address or Account Id) will automatically align with the variables in your script.
4. Buy a Phone Number and Link Agent
Buy a Phone number and link your agent as outbound agent.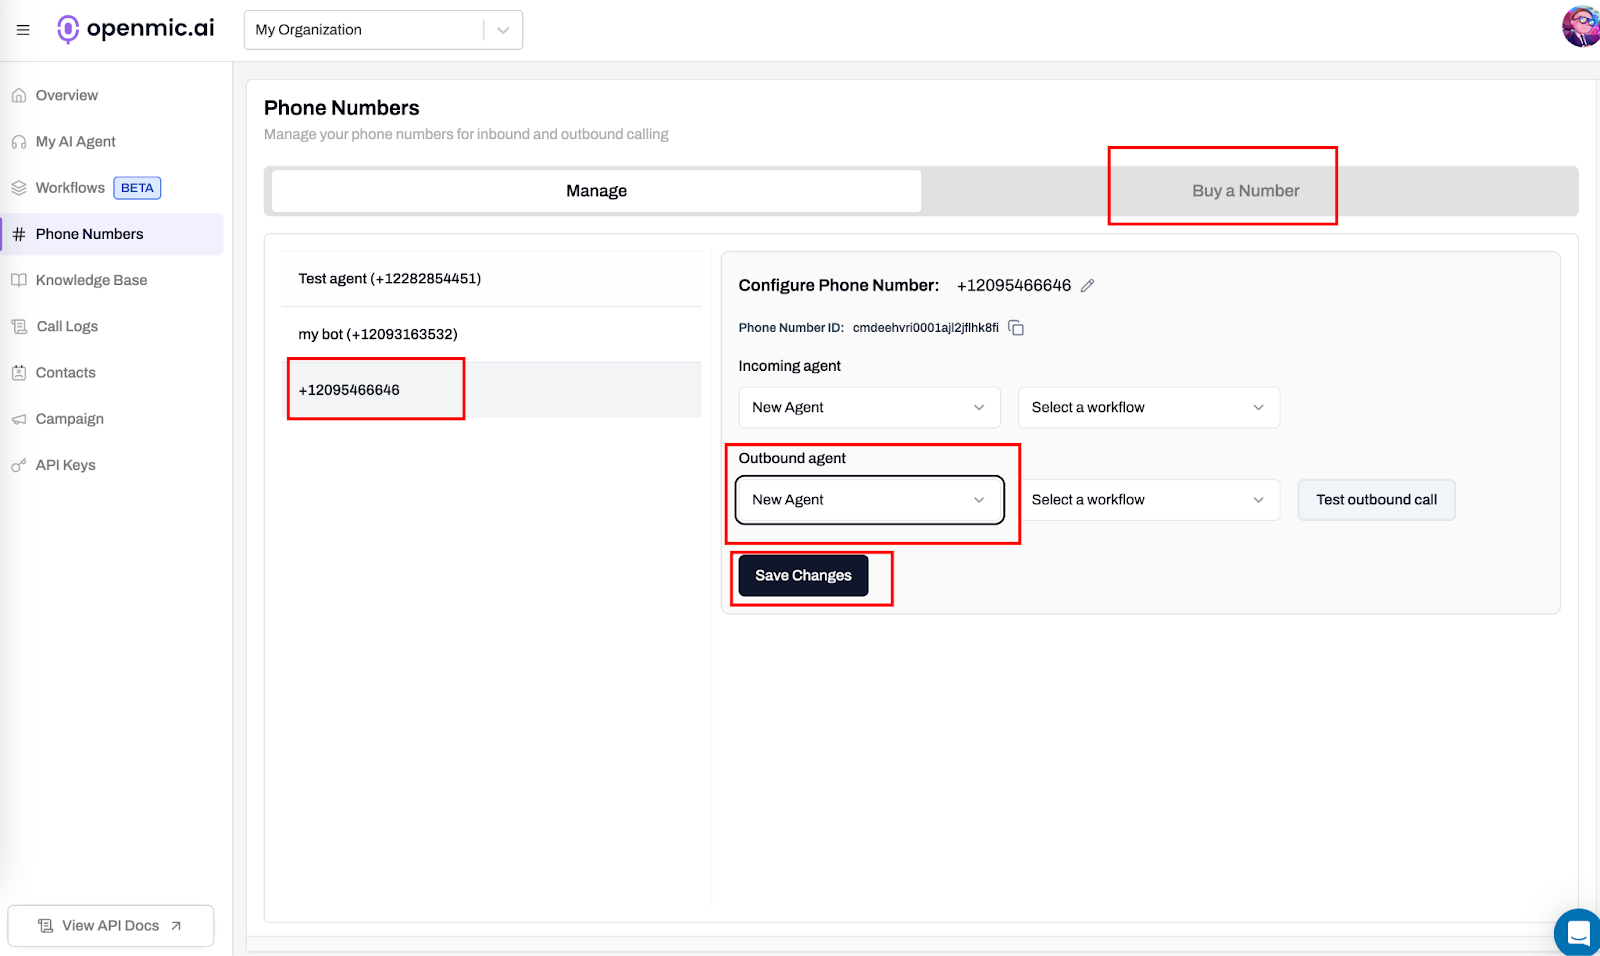
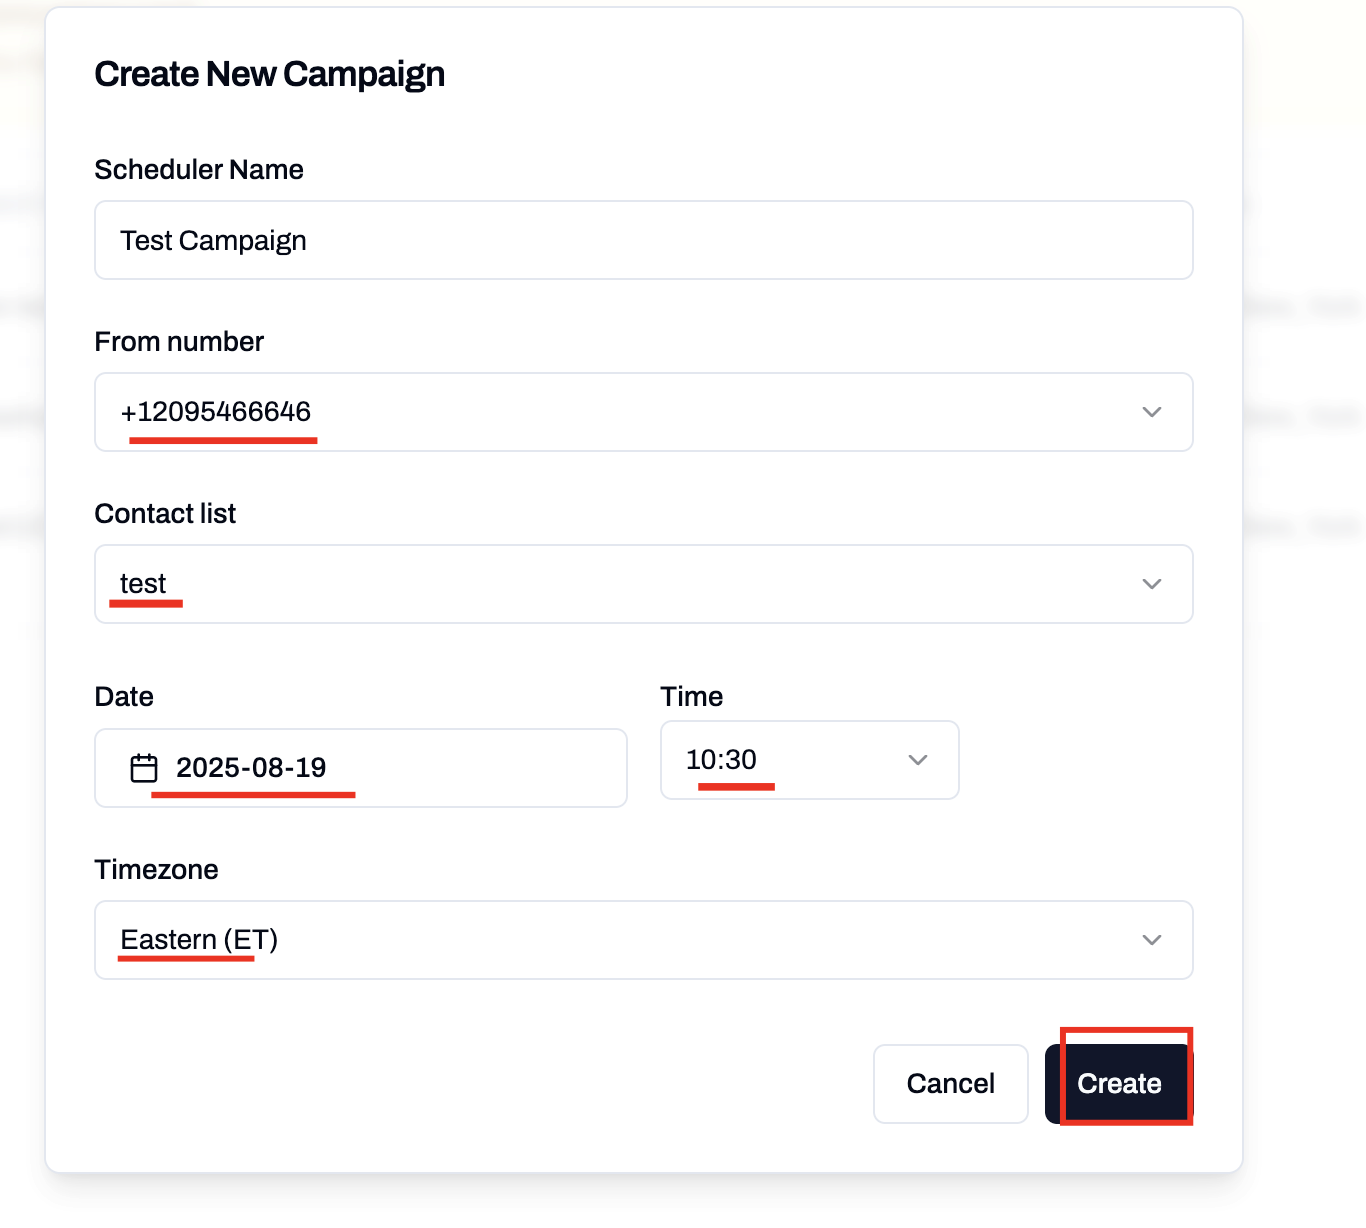
5. Create a Campaign
Now that your agent and contact list are ready:- Go to the Campaigns section.
- Click Create New Campaign.
-
Select:
- The Agent you just created.
- The Contact List you uploaded.
- The Phone Number from which calls will originate.
-
Choose your campaign schedule type:
- Single Run: Schedule a one-time campaign for a specific date and time.
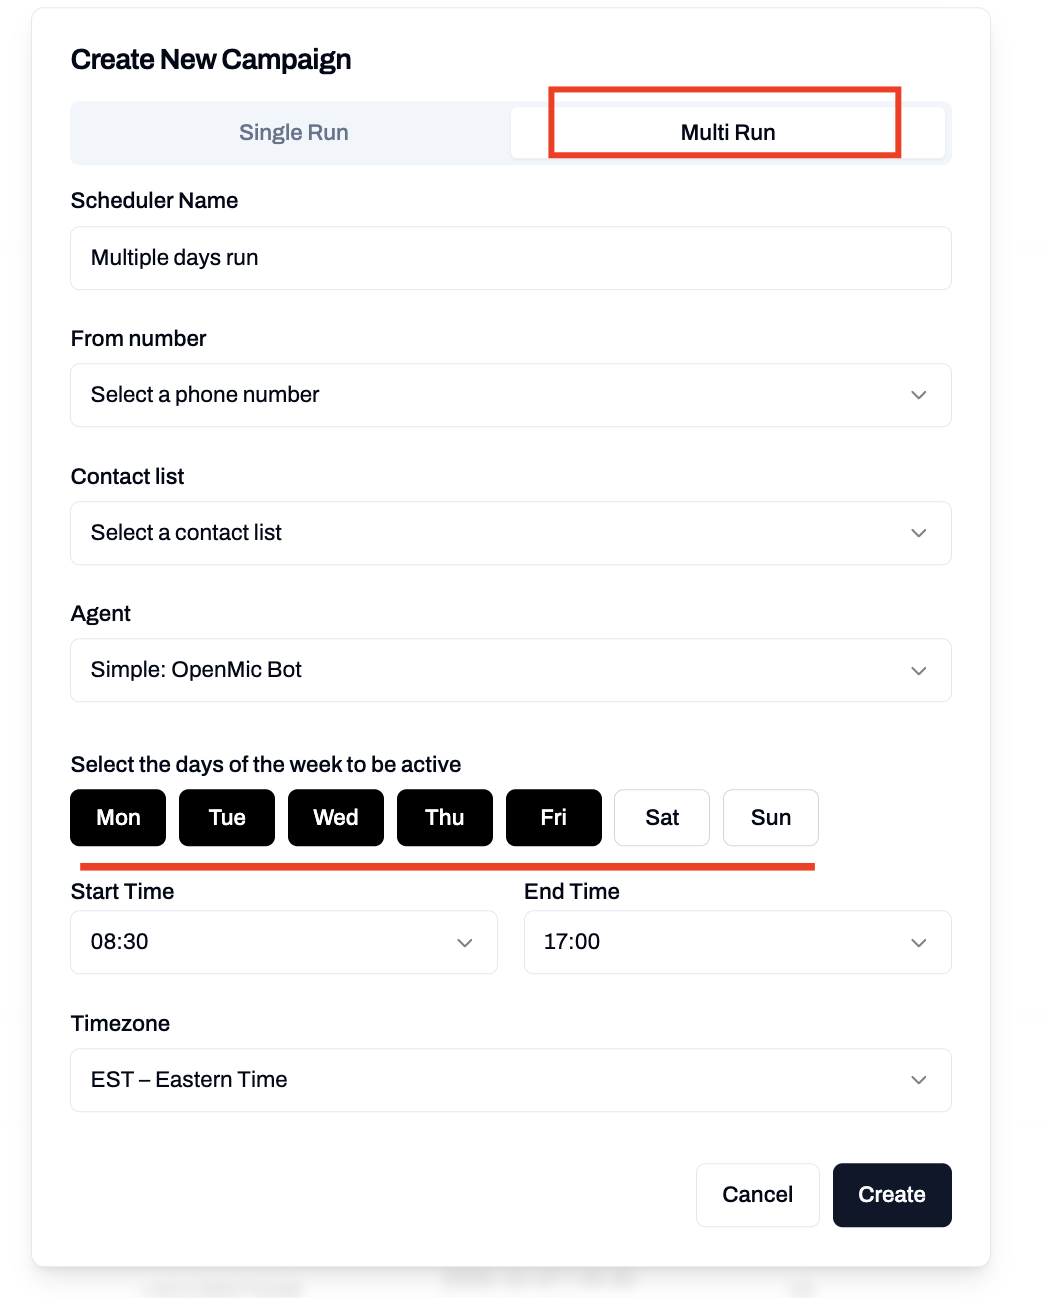
- Multi Run: Set up a recurring campaign that runs on multiple days of the week.
Multi Run Campaign
For campaigns that need to run on multiple days (e.g., Monday through Friday), use the Multi Run option:- Click on the Multi Run tab in the campaign creation form.
- Enter a Scheduler Name to identify your recurring campaign.
- Select the days of the week when the campaign should be active (e.g., Monday through Friday).
- Set the Start Time and End Time for each day (e.g., 08:30 to 17:00).
- Select the appropriate Timezone for your campaign.
6. Run & Monitor Your Campaign
- At the scheduled time, your campaign will begin dialing contacts in order from the list.
-
Your agent will dynamically insert values from your CSV (e.g., “Hello
{{name}}, we’re calling about your account{{Account Id}}”). - You can track performance and outcomes in the Call Logs section, where each interaction is recorded.
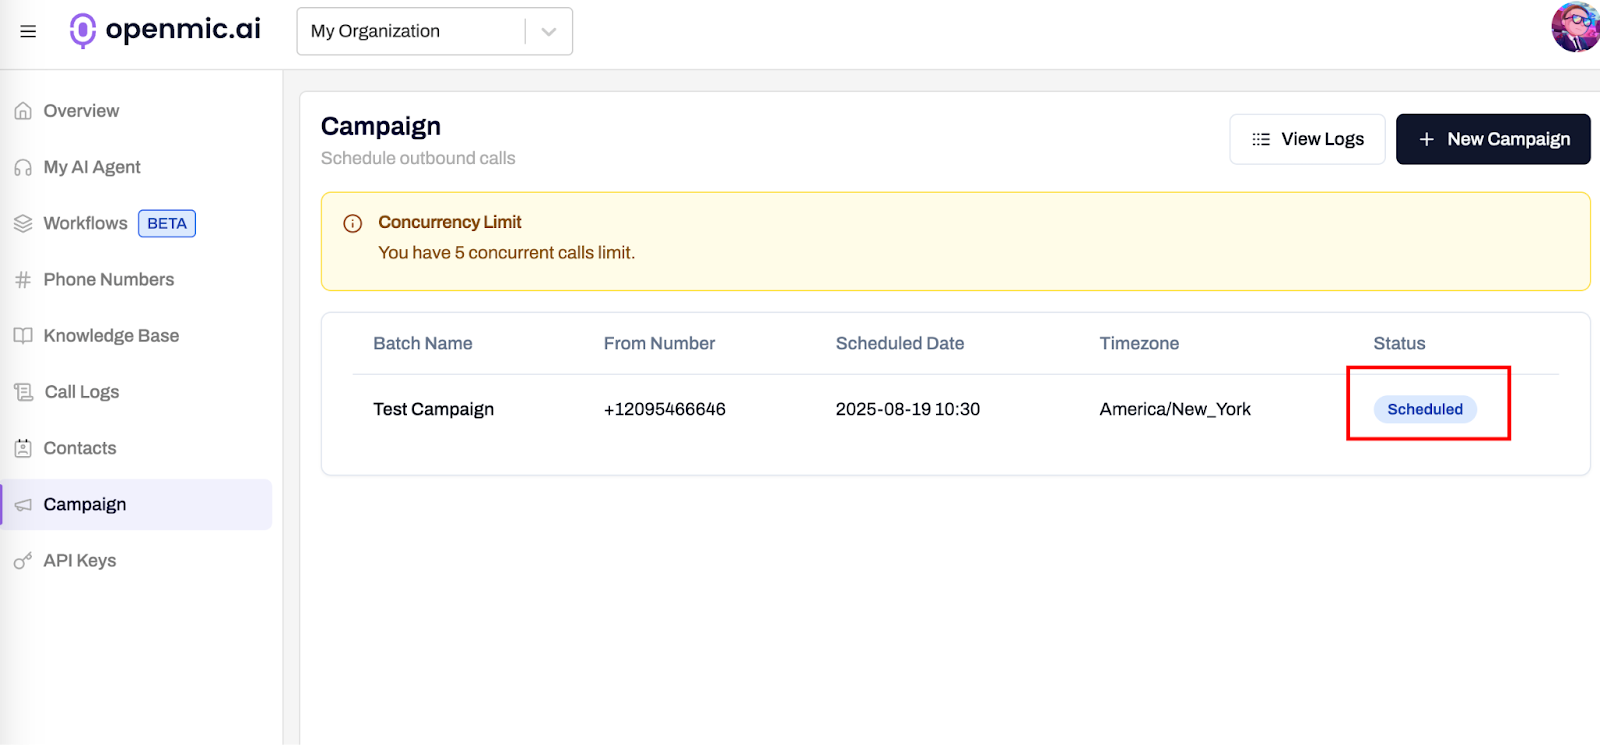
- You can also reschedule the campaign, just click on the campaign and change the date and time.
Unlock full access and see how OpenMic works - free trial available.